Scholastic Trophy & Display
A Step-by-Step Project Journal of Joe's Design, Fabrication and InstallationScholastic Trophy & Display: Cutting & Fluting Acrylic Parts
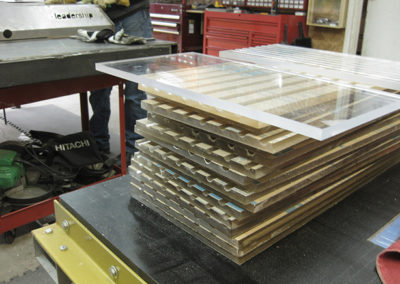
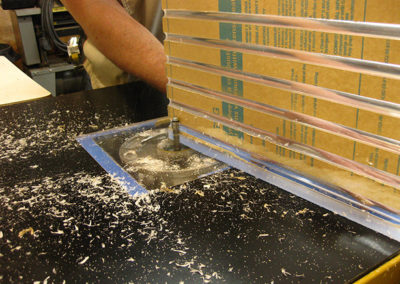
This was a rush project with only five weeks from design to completion. The piece had to be done for the schools’ graduation ceremony so being late was simply not an option. It doesn’t build itself so we better get moving. Anyway if the base was the heart of this piece then the columns were the soul. We started fabrication by cutting acrylic parts and fluting them on the router table.
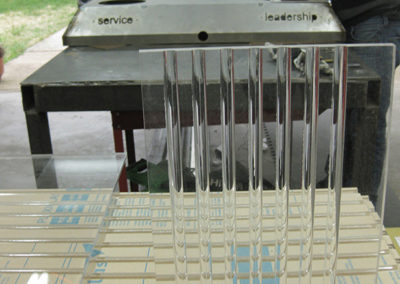
Scholastic Trophy & Display: Polished Flutes
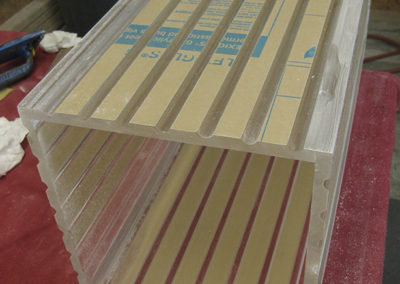
Then we polished the flutes. Notice the stagger of the flutes to one side so that one part will overlap another at the corner.
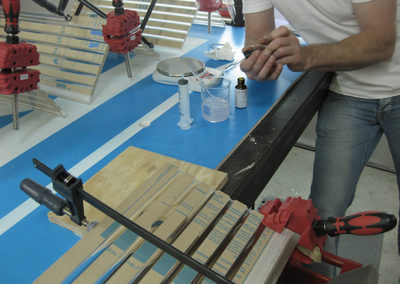
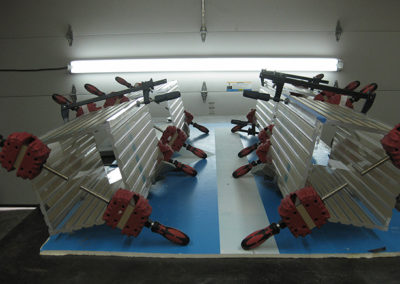
Scholastic Trophy & Display: UV Curing
Mixing the special acrylic epoxy must be done very precisely. There is nothing quick about this method for joining acrylic but even though we use UV cured glue that is faster the two part is by far the strongest.
Scholastic Trophy & Display: Flush Trim Process
Each column was run through a flush trim process on the router table at each joint.
Scholastic Trophy & Display: Base Construction
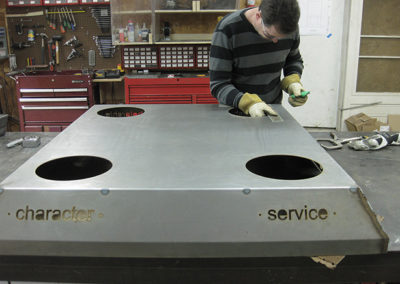
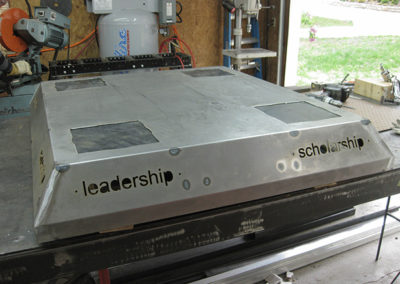
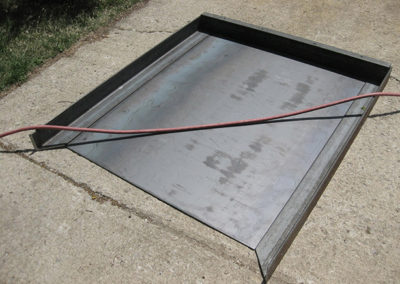
The base began as a formed steel sheet that was water jet. There was a lot of work left to make it into a finished piece. For one we changed the circular holes into squares so Frank is laying out cut lines for that.
Scholastic Trophy & Display: Welding Process
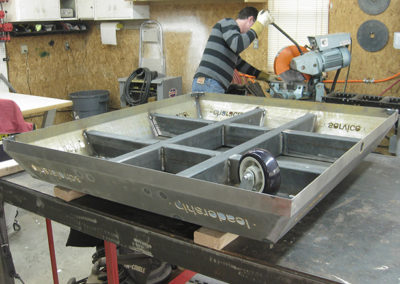
The formed steel is really just a decorative element and the real support comes from heavy gauge steel tubing and steel plates at each corner that were all welded together. Notice the large 6” diameter heavy duty casters.
Scholastic Trophy & Display: Anchor Points
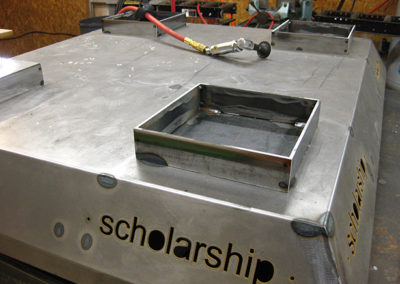
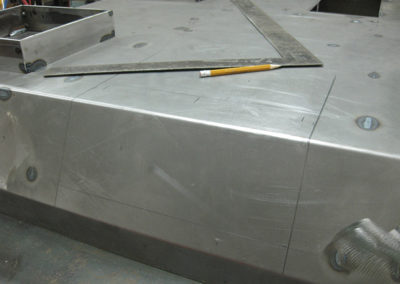
The base is taking shape. The steel plates seen through the holes in the top of the formed steel are the anchor points for the acrylic columns. You can see here where we lightly tacked the formed steel to the steel tube structure. Easy does it so that it doesn’t buckle from the heat.
Scholastic Trophy & Display: Mounting Flange
Steel bars are welded to the structure to form a mounting flange for the acrylic columns and a cavity for the circular LED light module. We always try to kill at least two birds with every stone. Three is even better.
Scholastic Trophy & Display: Steel Bezel
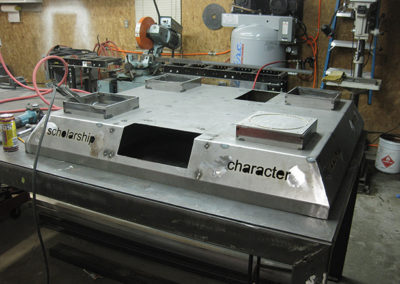
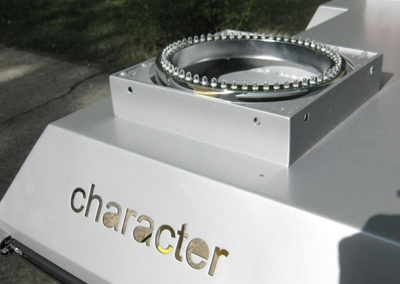
Making progress. Notice the LED’s poking through the steel bezel and the hole cut towards the back for the electronics hatch.
Scholastic Trophy & Display: Main Display Base
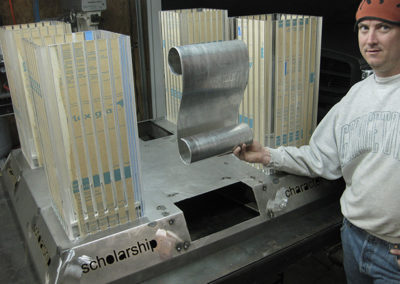
We have what looks like a base for the main display case. Frank holds up the formed scroll part we got from Jackson Specialties.
Scholastic Trophy & Display: Back From Paint Application
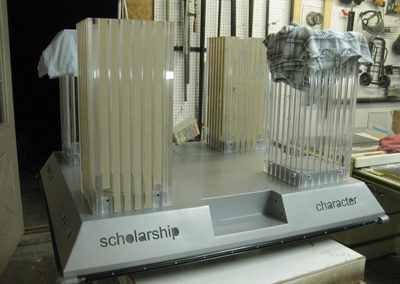
The base is back from paint and looking pretty sharp. The columns are installed and you can see the finished cavity for the scroll kiosk. Also notice the bumper molding being installed at the base. This was very important because the 800lb beast would get rolled around.
Scholastic Trophy & Display: Electronic Systems Testing
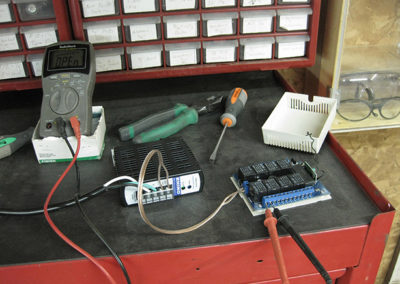
Testing 123. All of the electronics systems undergo basic checks. That little gadget on the right is the RF remote receiver that will control the 4 channel lighting system.
Scholastic Trophy & Display: Lightbox Fabrication
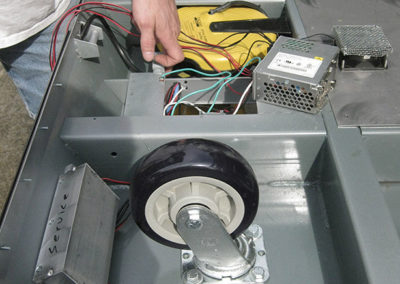
In this pic you can see the nifty light boxes we fabricated. The yellow retractable cord real is installed and we are wiring the electronics into the control box.
Scholastic Trophy & Display: LED Application
I was thrilled to find this pretty ring of LEDs when I designed this trophy. It was a perfect fit and saved me a ton of soldering if I was to custom make them.
Scholastic Trophy & Display: Custom Machine Molded Acrylic
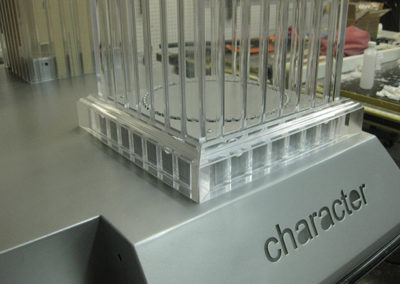
Here is a finished corner where the base, column, and light module come together. The custom machined acrylic molding adds a nice touch and also serves to hide the column connection screws.
Scholastic Trophy & Display: David Platter Sculpture
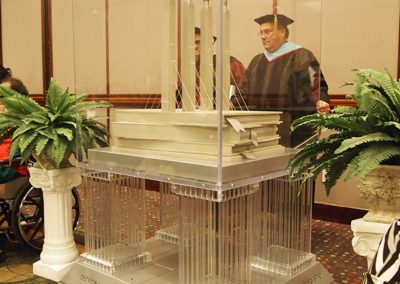
I loved David Platter’s beautiful sculpture of Bartle Hall with a scholastic theme.
Scholastic Trophy & Display: Locking Cabinet
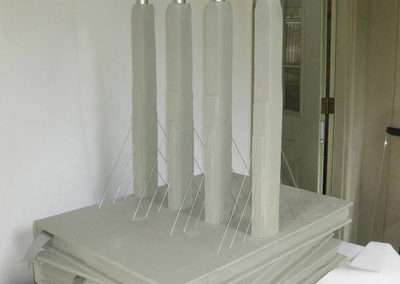
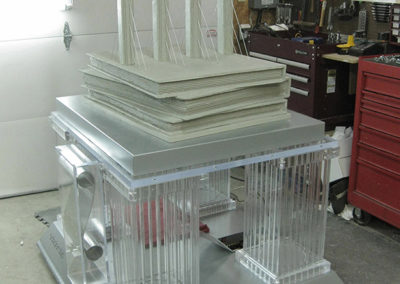
This thing is literally being built from the ground up. Here we have installed the large 1” thick acrylic base for the sculpture. Also there is a painted metal platform to set the sculpture off a little. The scroll has been installed in its lockable cabinet.
Scholastic Trophy & Display: Electronic Components
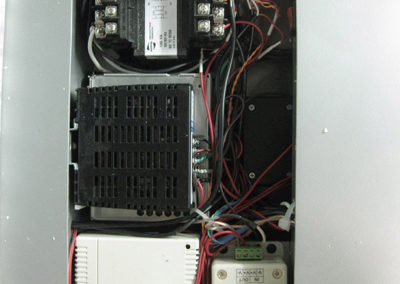
A tight fit but all of the electronics went in without much of a fuss. Each lighting system had different power requirements so I had to use three different power supplies. Also I had to custom make a relay module that would allow the RF receiver to control the 2 separate light channels at each corner of the trophy. The dimmer control on the lower right hand corner was very handy to adjust the lighting to the perfect brightness.
Scholastic Trophy & Display: Illuminated
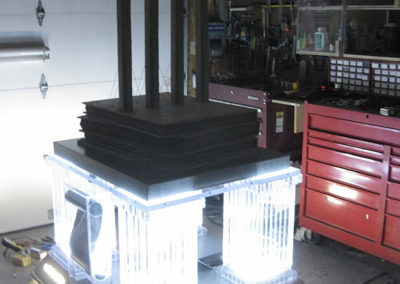
We had plenty of light. It made for good effect. We thought the thing might take off!
Scholastic Trophy & Display: Sanding Panels
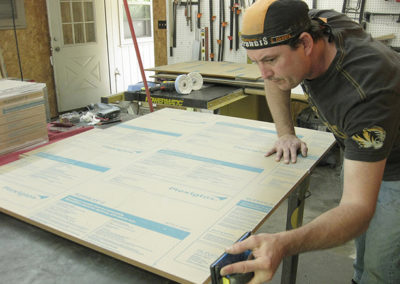
Frank prepares the panels for the main display case. So intense is the master craftsman.
Scholastic Trophy & Display: Setting Joints
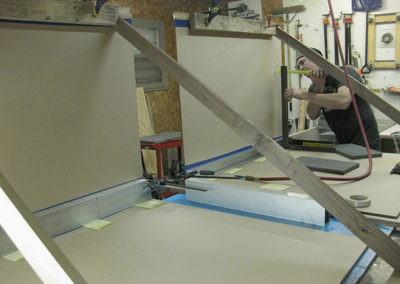
Frank rigged up this nifty jig to set the first two joints of the display case.
Scholastic Trophy & Display: Late Hours
Half of this project was done at night. We literally worked around the clock for four weeks.
Scholastic Trophy & Display: Heavy Lifting
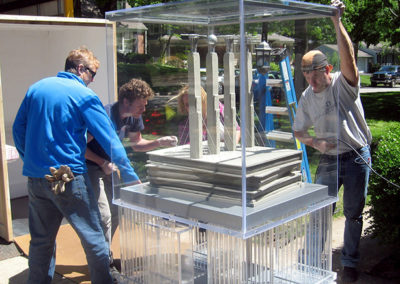
Game day! Setting the main case was crazy difficult because we had to lift it over our heads with 8 people and set it OVER the sculpture. The main case weighed 250lbs. I was very glad to have that over with. You can see the light bar we made for the top of the case. It was very neat.
Scholastic Trophy & Display: Carrying Case
A huge trophy needs a well thought out carrying case or crate if you will. This one started out with a heavy gauge steel base. The reason for this was because it had to be super strong and I wanted a super thing profile so the trophy could easily roll in and out. This proved a very good idea and worked extremely well. Very much worth the effort.
Scholastic Trophy & Display: Tired, but Happy
I was quite tired here but happy to have the deal in the crate. Notice the special hook anchor points we put at the base of the crate so a fork-lift could lift it off the ground.
Scholastic Trophy & Display: Loading on the Truck
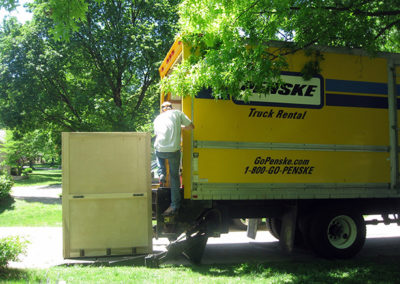
I know Frank was glad to get this thing in the truck.
Scholastic Trophy & Display: Opening Ceremony
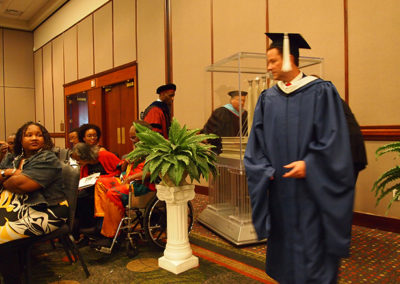
Opening ceremony. Larry Englebrick who is certainly one of the most pleasant people I have ever worked with is wheeling in the trophy behind Michael Rounds, also a very nice gentleman. The students seem intrigued.
Scholastic Trophy & Display: Unveiling
This was a serious piece and it looked every bit the part. Notice the little electrical plug sticking out at the base that is connected to the retractable reel. A nice little touch.
Scholastic Trophy & Display: Client Reactions
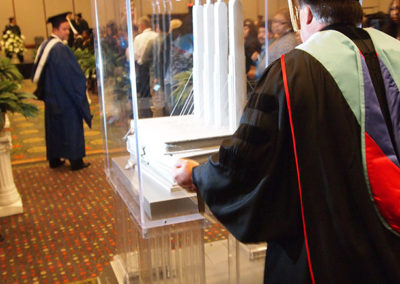
I was lucky to get this photograph. I think it really captures the whole project in a nutshell. You cannot see the stainless steel handle’s that are removable and stow underneath the main case but that is how Larry is pushing the trophy. He is a pretty strong guy and that was good. I mean the trophy does weigh 800 pounds. People are amazed by that figure but when building beautiful things every little piece adds up to a lot and it has to be strong enough that it doesn’t fall apart.
Scholastic Trophy & Display: Client Reactions
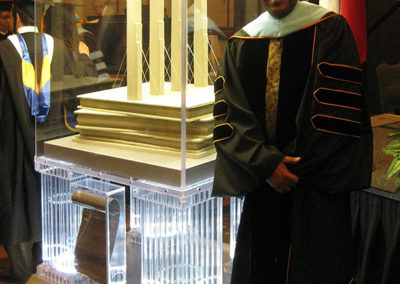
There is the man himself, Dr. Covington, the guy who inspired me to design and construct this piece. I liked him and I wish he would of stayed in KC.
Scholastic Trophy & Display: Team Responsible for this Piece
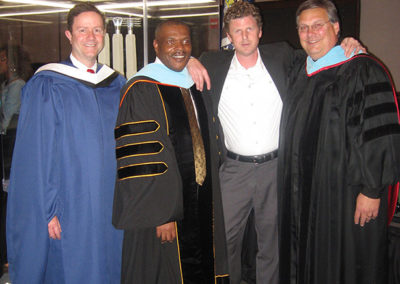
The team responsible for this piece. Frank should have been there too. This trophy is supposed to last for 100 years. There is enough room on that scroll for 100 school names. It is given to the best performing school each year. That is why we nicknamed I the traveling trophy.
