AV1
A Step-by-Step Project Journal of Joe's Design, Fabrication and InstallationAV1: Mounting Components
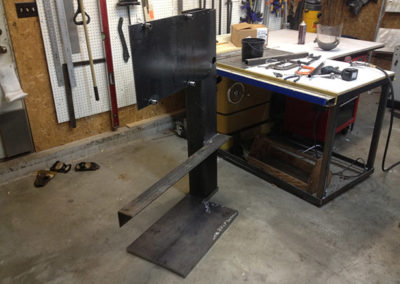
I’m starting this blog with quite a bit of this piece already framed up. I received the water jet ¾” thick steel base plate and mounted the vertical 6”x8” steel tube column to it. I installed the 4”x4”x3/8” steel angle bracket for the cabinet. And finally I installed the mounting plate for the television with the stand-offs that would line up with the TV mounting holes.
AV1: Vertical Steel Columns
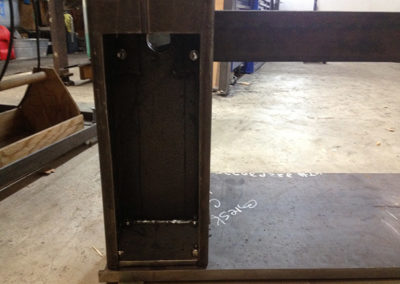
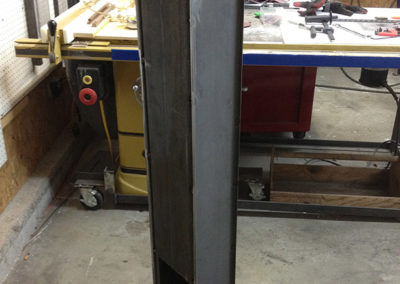
The vertical steel column has a large cut out that is for accessing all of the wiring that comes down from the TV and in from the AV cabinet. Notice the ½” thick steel plate that is welded to the vertical column and the bolts through from the base plate. You can also see the large hole that aligns with a corresponding hole in the cabinet bracket.
AV1: Mounting Bolts & Support Brackets
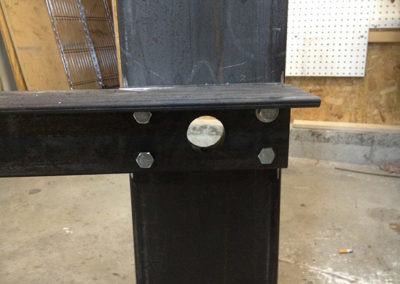
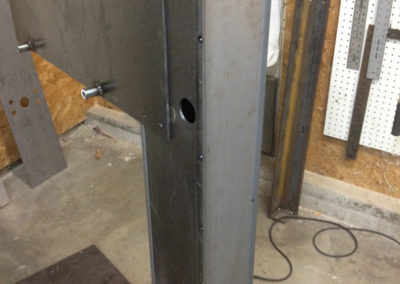
Again the holes that mate up for the wiring and the four mounting bolts for the cabinet support bracket. Not seen is the ¾” thick steel spacer plate that goes between the vertical column and the cabinet support bracket.
AV1: Column Alignment
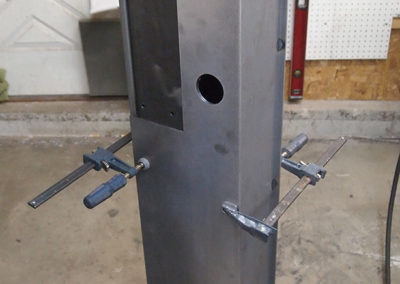
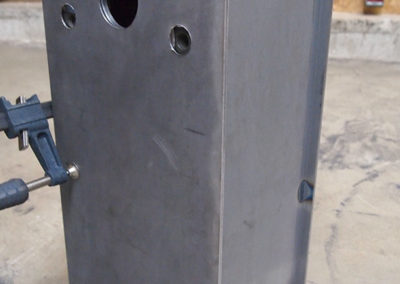
The steel sheet parts are clamped to the vertical column for alignment. Notice the notch for the TV mounting plate and the hole for the TV wiring to enter the column.
AV1: Cabinet Support Brackets
The cabinet support bracket is anchored through several layers of steel.
AV1: Rearview
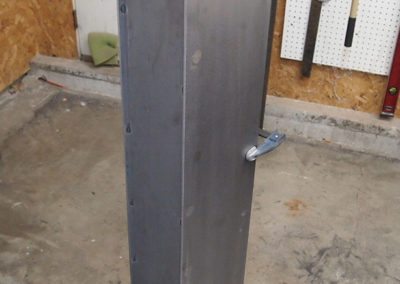
The rear view is fairly clean. This panel will be magnetic so that you have access to the large wiring bay. An exit hole at the bottom is for the power cord and other cables that need to exit the unit.
AV1: Vertical Welding
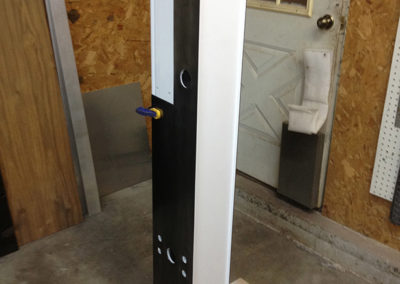
Once the alignment is done the front and back panels are removed and the side and top surround panels are welded to the vertical column.
AV1: Post-Paint Application
The column is back from paint and we are trial fitting the already blackened and waxed steel front and back panels.
AV1: Machined & Finished
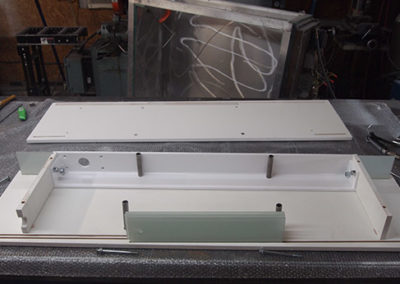
The cabinet parts have been machined and finished. The glass doors have arrived and tested. Here we are fitting the painted cabinet support bracket and bolting it to the cabinet.
AV1: Finished Cabinet Details
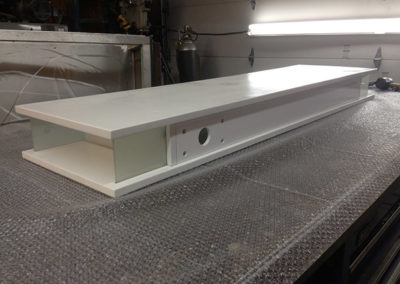
Here is a view of the finished cabinet from the back and you can see how it integrates nicely. That ¾” steel plate spacer is placed between this assembly and the vertical column.
